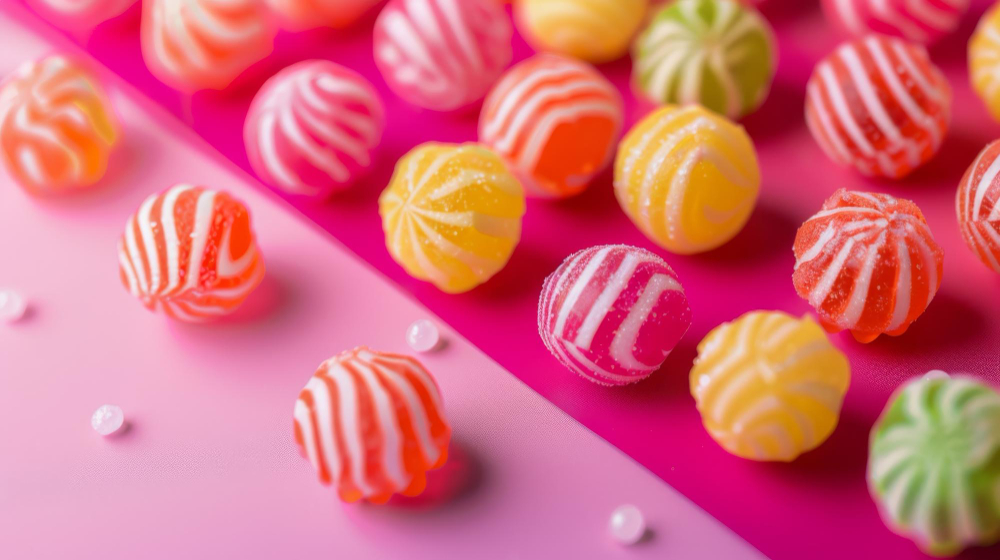
You’re in your kitchen, dreaming of creating a delightful batch of homemade hard candy. There’s sugar, there’s flavor, and there’s a little bit of magic. Suddenly, your sweet treat turns grumpy with that unwelcome grainy texture. Not quite how you imagined impressing anyone who dares to taste it, right?
Candy crystallizes when even a tiny sugar crystal goes rogue, starting a chain reaction of sugary rebellion and causing the mixture to seize. The villain often to blame is sugar that wasn’t fully dissolved. A sugar crystal on the side of the pan can spell disaster for your candy dreams. You could try adding a bit of corn syrup or even a dab of lemon juice to smooth things out. They have special powers to stop these crystals before they cause trouble.
So, grab your apron and get ready to rebel against the grainy menace! Keep your kitchen chemistry in check, and you could end up crowned the candy king or queen of your neighborhood. There’s nothing sweeter than triumphing over crystallization chaos.
The Sticky Science Behind Grainy Hard Candy
Graininess in hard candy often comes down to three key factors: sugar crystallization, cooking temperature, and stirring techniques. Understanding these concepts can help you achieve that smooth, shiny candy texture every time.
The Crystal Culprit: Sugar
Sugar is the main ingredient in hard candy, and it can be as sneaky as a raccoon in a garbage can.
When granulated sugar dissolves in water and heats up, it transforms into a syrup. If rogue sugar crystals are left on the sides of your pan, they can create a domino effect, making the whole mixture return to its gritty state.
Use a wet pastry brush to wipe down the sides of your pan. This stops crystals from forming and gives your candy a smooth finish. Putting a lid on your pan for a few minutes while it boils also works wonders.
Too Hot to Handle: The Temperature Tango
Cooking temperature is as critical as avoiding pineapple on pizza. Too low and you’ll end up with a sticky mess; too high and you’ve got a disaster.
You’re aiming for the “hard crack” stage, which is between 300°F to 310°F (about 150°C to 155°C). Use a reliable candy thermometer to keep track.
Not all thermometers are created equal. Make sure yours is accurate by testing it in boiling water—it should read 212°F (100°C). Get that wrong, and you’ve unintentionally taken up sugar sculpting.
Stirring the Pot: Techniques to Avoid Textural Troubles
You might think stirring is innocent, but in candy making, it can be your worst enemy. Once the sugar dissolves, stirring can cause unwanted sugar crystals to form.
Let the mixture do its thing without interference. Use a gentle swirl motion if you just can’t resist that spatula. This helps distribute the heat evenly and stops crystals from forming.
By ignoring your initial urge to stir like you’re mixing the world’s biggest batch of cookie dough, you set your candy up for smooth success.
Accessorize Your Candy: Tools & Tricks for the Perfect Batch
Creating a flawless batch of homemade hard candy isn’t just about the recipe—it’s about using the right tools and techniques. From molds to colors, each choice adds a special touch to your sweet masterpieces.
Mold It, Make It Marvelous
To make candy that’s truly marvelous, you’ll want to use candy molds. These nifty tools let you shape your candy into fun designs or classic shapes, like old-fashioned lollipops.
Use a silicone baking mat for easy cleanup and swift candy removal. They ensure less sticking and more licking, letting you focus on more important things—like eating your creations!
For perfect texture, make sure to incorporate light corn syrup in your basic hard candy recipe. It helps prevent unwanted graininess while making the candy shine.
Proper cooling is key. Allow your candy to cool completely in the mold for about 30 minutes before handling. Your patience will reward you with candy that not only tastes good but looks fantastic!
Color Me Sweet: Vibrant Vistas of Flavors
Want candy that’s a feast for the eyes and mouth? Enter food coloring and flavoring oils. These little vials of magic turn your simple hard candy into colorful, flavorful delights.
Add a few drops of food coloring to the mix before it cools to achieve those popping hues. Go for classic candy flavors like strawberry and lemon, or experiment with unexpected combos, like adding a hint of vanilla extract for depth.
But be cautious with the oils: a little goes a long way! They give your batches a burst of flavor that transforms standard sweets into gourmet specialties. Your taste buds—and your friends—will thank you.
